
Why Is My Thermometer Reading Too High? A Controlled Exposure Check
Start with a question your experiment can answer
A thermometer beside a sunlit wall reads warmer than a nearby station. That difference alone does not prove either sensor is wrong. The two instruments may sample different air, surfaces, heights and times. First decide whether you want the temperature at that particular wall or a more representative air-temperature observation. Both can be useful, but they answer different questions.
The NWS-hosted CWOP siting guide recommends a ventilated radiation shield over representative ground, away from heat-distorting surfaces. Its illustrated bad placements are useful real-world installation examples: rooftop heat and nearby structures can compromise what a station represents. The guide is installation evidence, not a measurement of your garden. Use its pictures to inspect your own exposure; do not borrow an unexplained correction from them.
Run a paired check before moving the station
Label the sensors A and B. Put them close together in comparable ventilated shielding without allowing the bodies to touch. Follow their specified response times; begin a comparison only after readings have settled. Record simultaneous values, time, shade, wind, surface and shield. Several pairs across different conditions are more informative than a single matching display.
Next compare the suspect and reference positions at the same time. If practical, swap instruments while keeping shielding comparable, let them settle again and repeat. A difference that follows the position suggests an exposure effect. A difference that follows the instrument suggests a sensor or shield issue. Changing position, shield and sensor together leaves you unable to isolate the cause.
Worked example: offset versus exposure
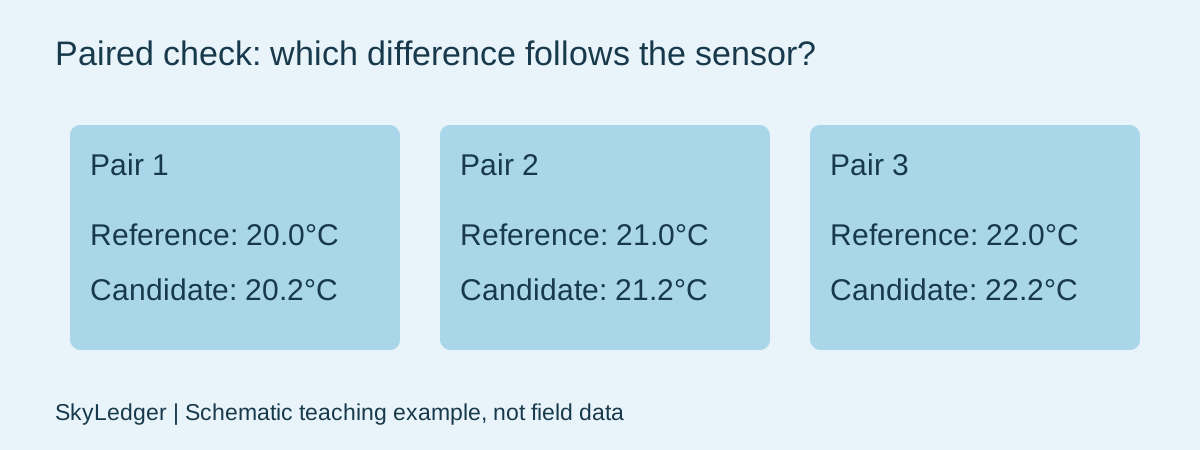
Synthetic paired readings in °C: reference 20.0, 21.0, 22.0; candidate 20.2, 21.2, 22.2. Enter candidate and reference in the sensor comparison tool. Candidate minus reference is +0.2°C for every pair, so mean bias and RMSE are both 0.2°C. These three teaching pairs demonstrate arithmetic; they do not establish accuracy, calibration uncertainty or long-term stability.
Now imagine the same pair agrees closely in the shared shield but differs by 2°C after the candidate returns to a sunlit wall. Investigate radiation, ventilation and nearby hot surfaces before subtracting 2°C from the entire historical series. Exposure bias can vary with sunlight and wind, so one afternoon's difference is not a defensible all-weather correction.
Keep an actionable decision record
If the difference follows one sensor, inspect units, batteries, moisture, shielding and manufacturer guidance. If it follows the location, improve placement and record the move date. Keep the original data intact. A corrected series should be a separate file with a documented method and the interval to which it applies.
Your useful output is a small site dossier: photographs you took, height, surface, shield, nearby obstructions and paired readings. A standard lapse-rate calculation cannot fix a hot wall or an urban microclimate. Mark unresolved exposure differences and repeat the comparison under another weather condition before deciding that a replacement instrument is necessary.
Sources & further reading
Reviewed November 4, 2026. The diagrams and examples are schematic teaching aids, not field photographs or measured records.
Use the related observation tool